- Things to know before you start -
- Artificial Grass is sold by the square foot
- Artificial Grass Rolls are 15 ft. wide by up to 100 ft. in length
- Artificial Grass comes in dye lots. It is recommended to purchase all sections that will be in contact with each other at the same time, to guarantee that you receive material from the same dye lot.
- We cannot cut from the width of the rolls, only the length. Your width will always be 15 ft.
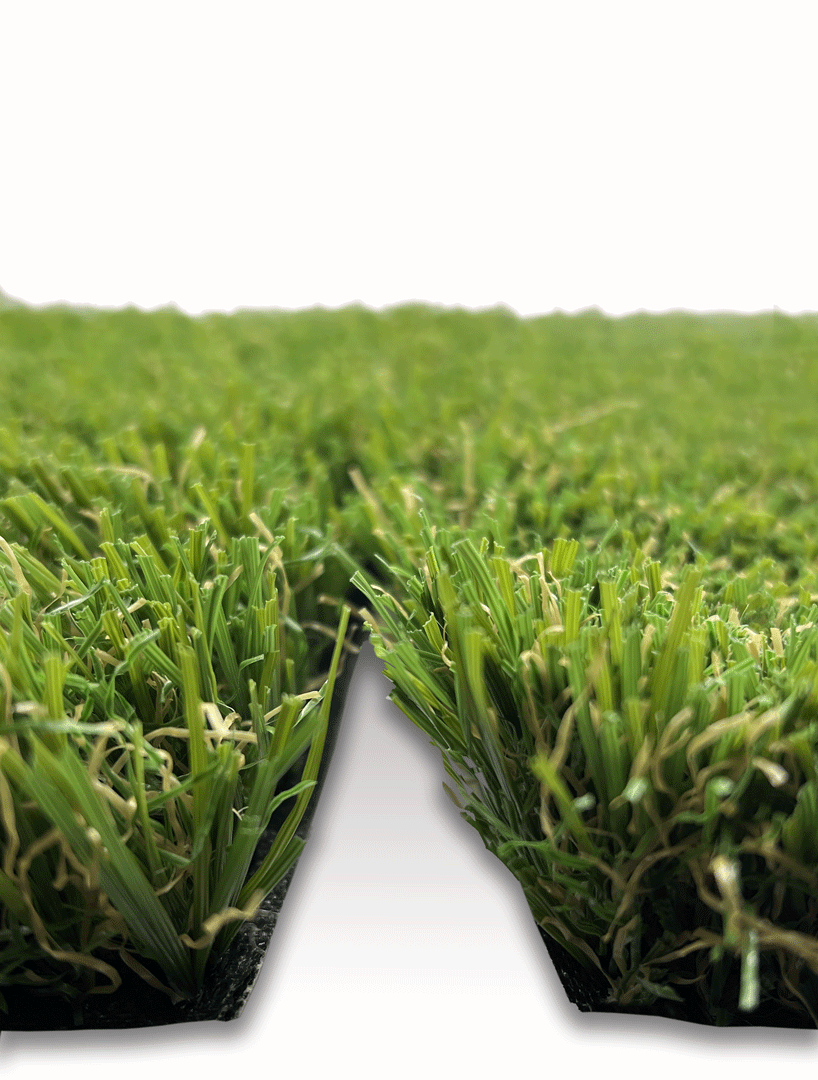
- When working with Artificial Grass, it's crucial to note that the blades have a specific direction in which they bend. To ensure a seamless and uniform appearance, make sure that the grain of each piece you are joining together faces the same direction. Failure to do so may result in visible seams and color variations.
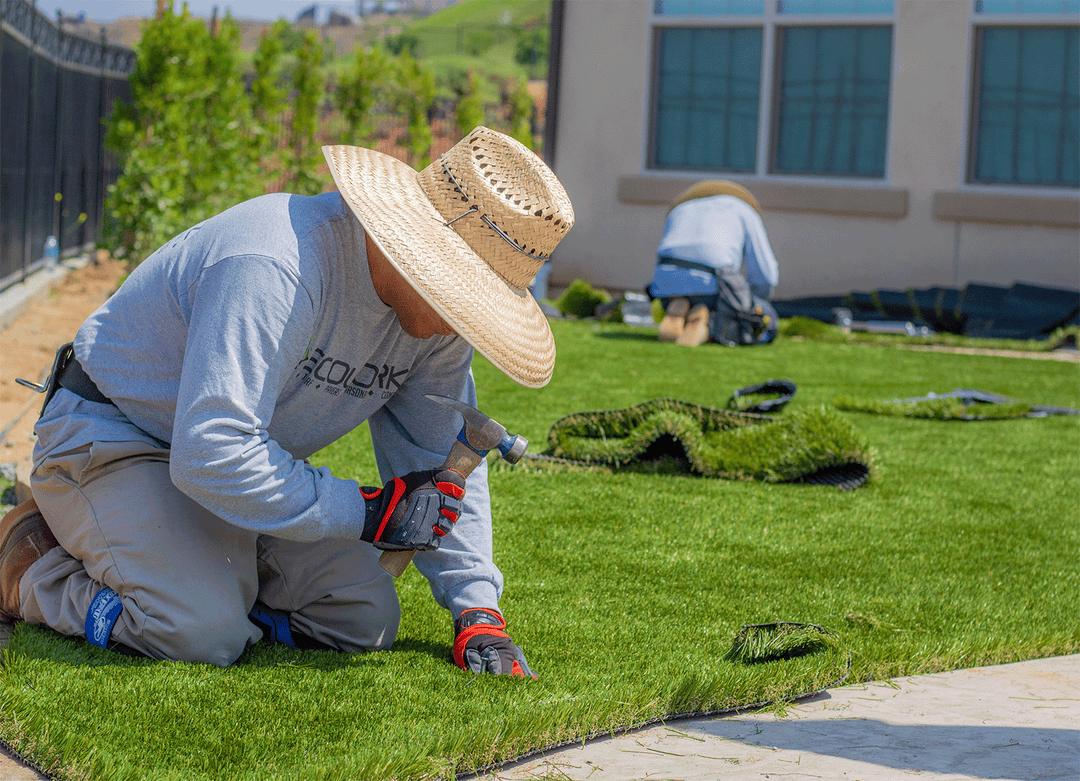
- When installing the artificial grass material, it is essential to consider its tendency to expand and contract based on temperature fluctuations. To ensure optimal performance, make sure to properly stretch the material (using a carpet kicker and nails) during installation and use the recommended amount of infill sand for added weight.
- For the best results with your project, we suggest not keeping irrigation in place during installation. Continuous watering may result in the accumulation of calcium on the blades, turning them white. It also prevents adequate drying and will contribute to the growth of bacteria, which can intensify pet odors.
- To achieve optimal results when seaming your pieces, it is recommended to avoid head seams. A head seam refers to a seam that runs horizontally across the seam rows, as opposed to seaming with the rows in a perpendicular manner.
- When determining the direction in which to lay your turf, it is important to always ensure that you are facing the grain. This means that the blades of the turf should be facing towards you, as this will result in an optimal look and color.
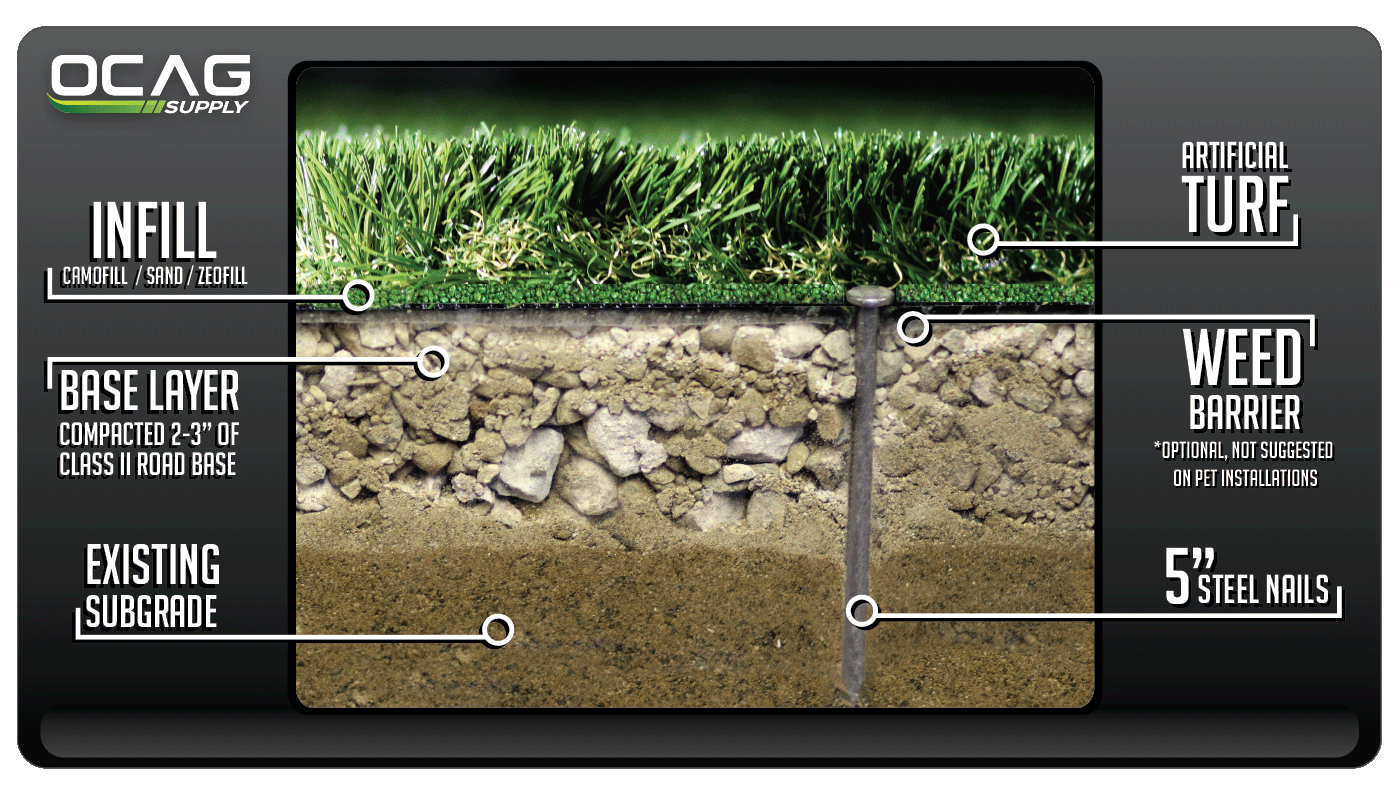
- TURF INSTALLATION DIAGRAM -
- TURF INSTALLATION GUIDE -
Follow our steps below to complete your project like a Pro
REMOVAL
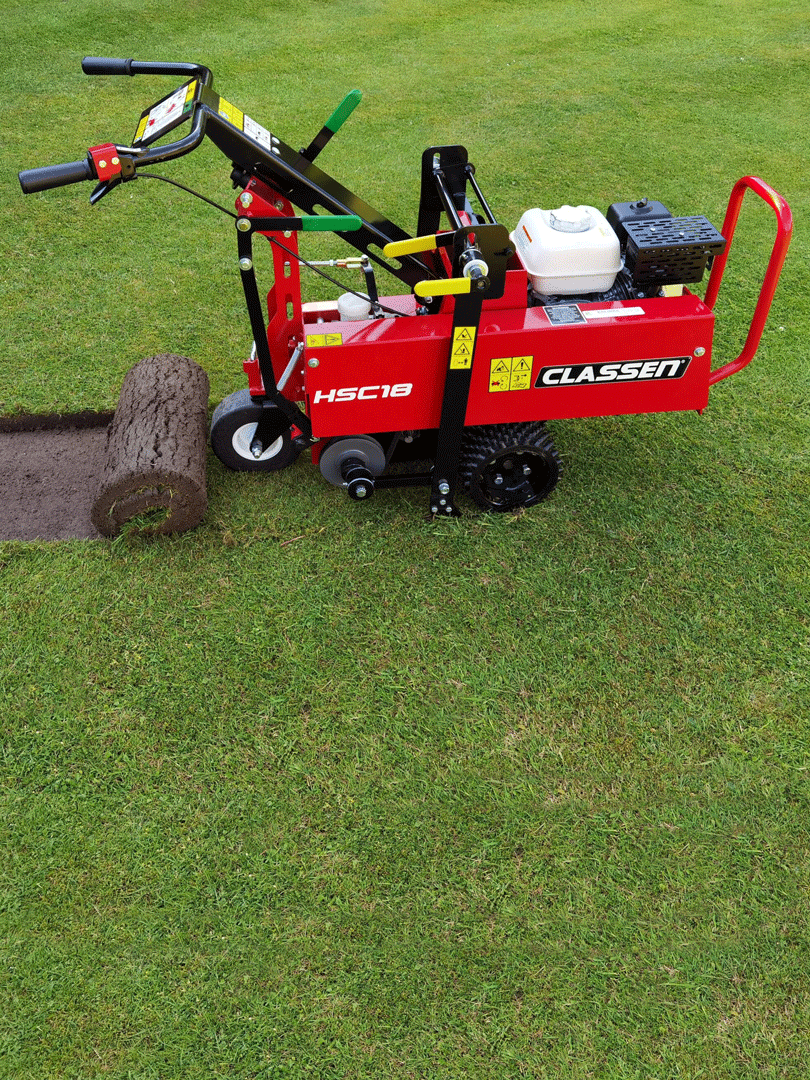
Ensure that you remove 2 - 3 inches of the current subgrade when completing the removal for your project (Approx. 1/4 ton of material per 20 sf). Use of a sod cutter is not mandatory, but it can significantly simplify the process. With the ability to set the desired depth, you can achieve a clean and precise cut. Before you start the removal process it is advised that you mark your irrigation to avoid any damage. We advise capping irrigation heads or cutting the irrigation line at the valve if it only waters the area you are installing.
*In order to avoid the formation of unwanted calcium deposits on your turf fibers and inhibit drying, it is recommended to avoid leaving the irrigation system in place. This can foster bacterial growth and contribute to the intensification of odors.
BASE INSTALLATION
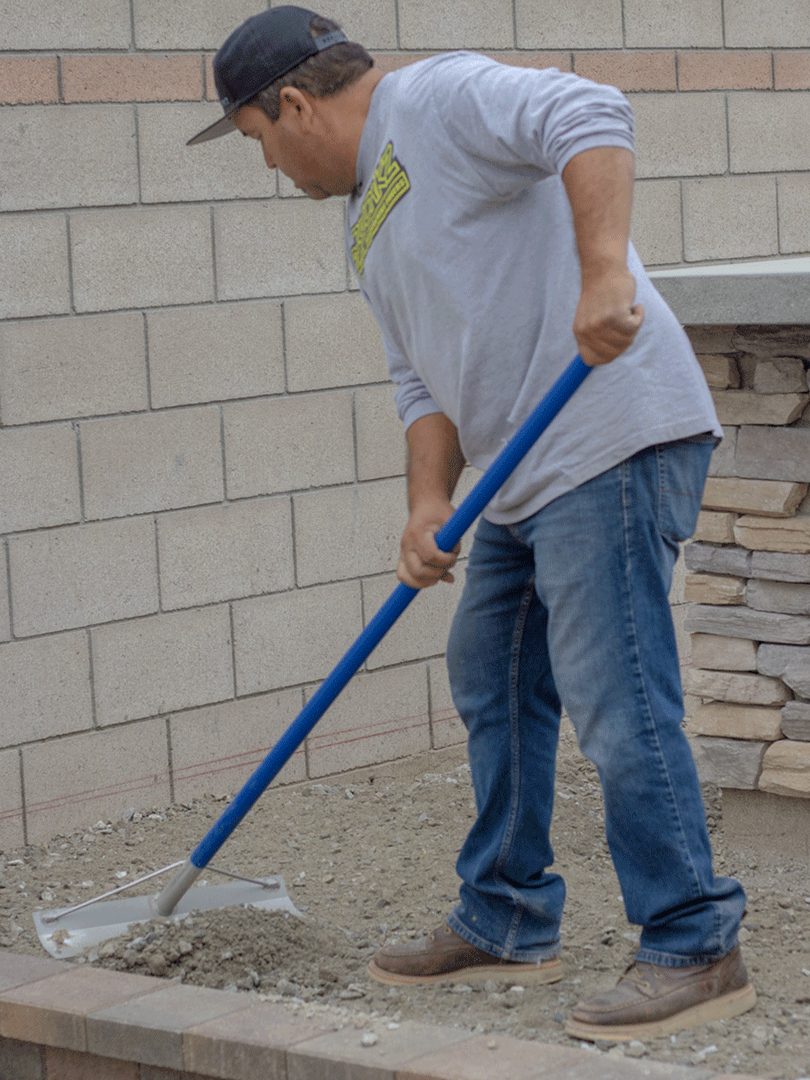
- Install 2 - 3" of Class II Road Base. (This is the best option for proper compaction & drainage)
- Grade base as smooth as possible. *A Concrete Placer or Push Broom is helpful.
- Water and compact base. *A Plate Compactor is the best option but a Hand Tamp will work.
- Your finished grade needs to be smooth and at least a 1/4" below any adjacent hardscape. This will allow a seamless transition from hardscape to turf.
* Use a hand tamp to compact against edges & walls
MEASURING & CUTTING TURF
Follow the steps below to properly measure for your turf order & cut for installation.
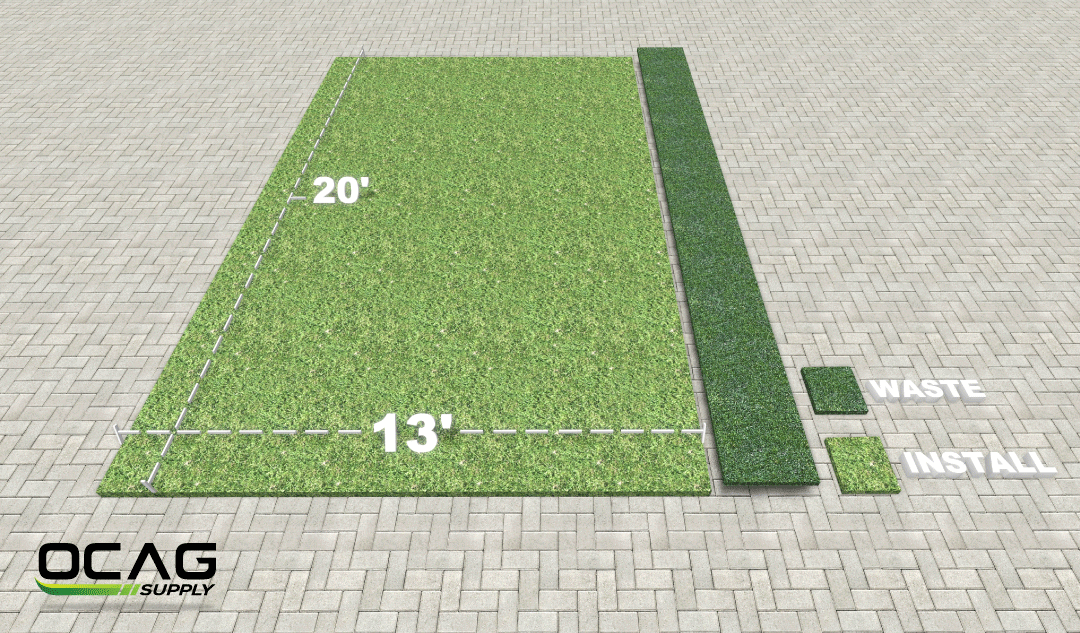
RECTANGLE / SQUARE AREA
- Measure at the widest point for both length and width.
- The installation area shown is 13'x20'. The turf order would be a 15'x20' and the waste would be 2'x20'.
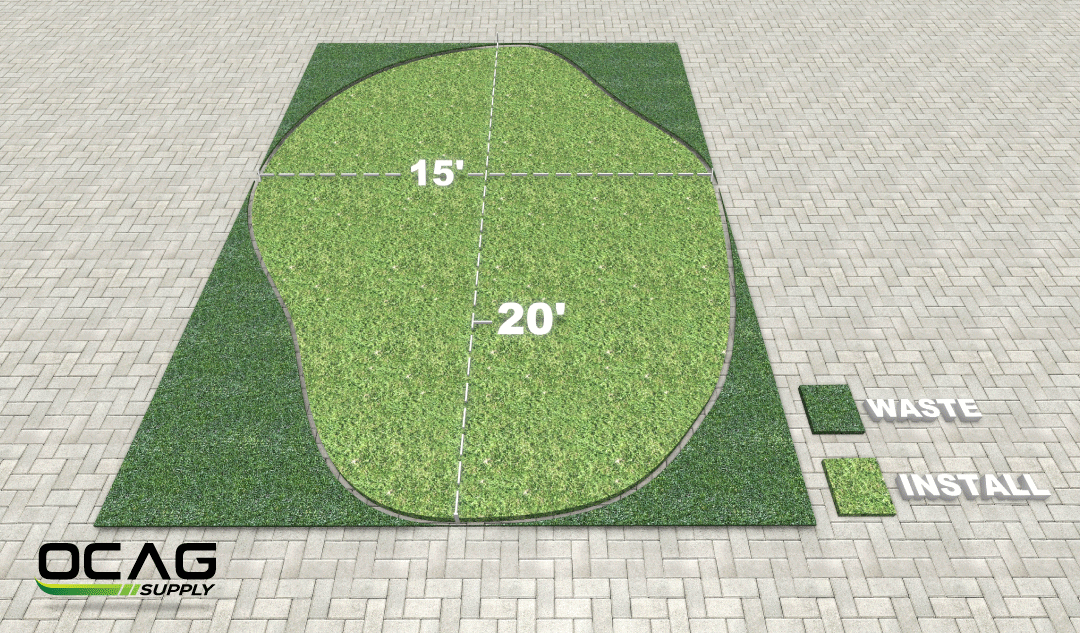
Odd Shape
- Measure at the widest point for both length and width.
- The Installation area shown is 15'x20'. The turf order would be 15'x20' and you would cut off the excess turf.
Multiple Pieces
- Measure the widest point for both length and width.
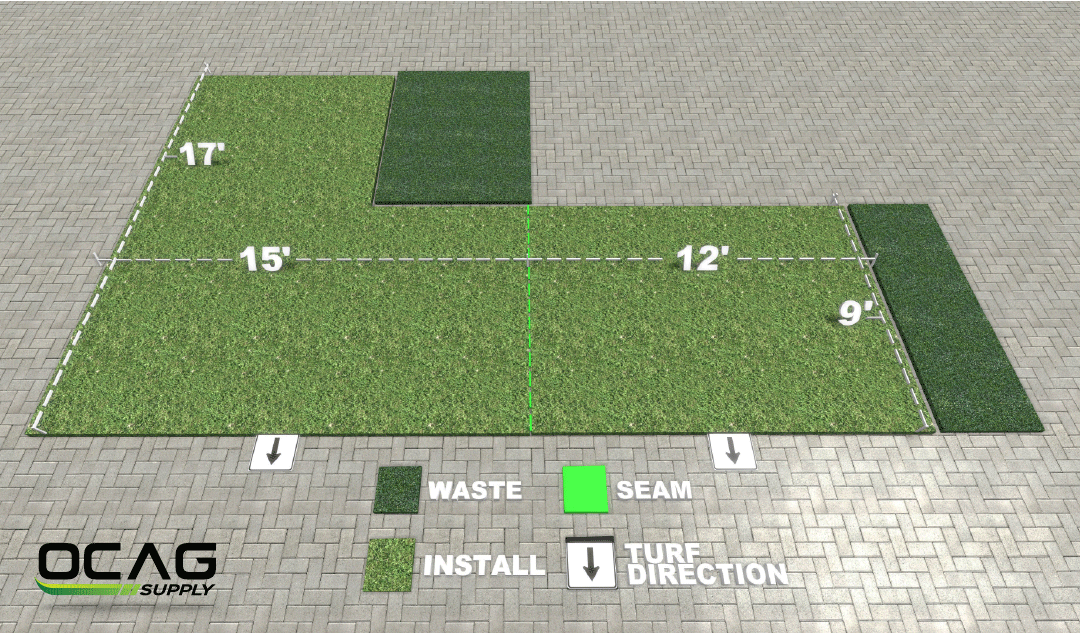
- Configure your pieces to lay in the same direction, preferably facing you from the area you will be looking at it most.
- In certain circumstances you will be able to use excess turf from one piece to fill in the area of the remaining area you need to cover. This will require more seams in most situations but will save on your order.
- For this layout you would order a 15'X26' then cut it into a 15'x17' & 15'x9' and seam them together.
- CUTTING & INSTALLING YOUR MATERIAL -
SEAM ROWS
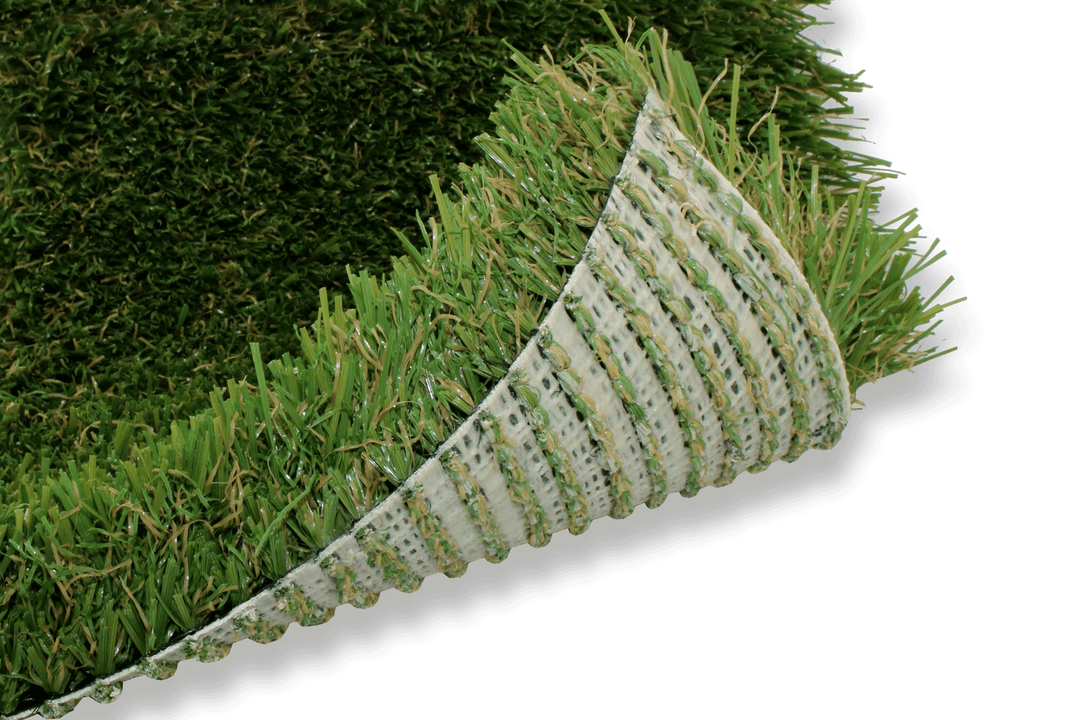
When cutting your material for your project you need to be conscious of your seam rows. These are the rows in which the yarn is stitched through the backing. Typically, they are a 1/4" or so apart but that varies depending on the face weight of the product.
TURF DIRECTION
The yarn in artificial turf is directional, meaning it lays in a certain direction after its manufactured. This is important to remember when installing your turf for two reasons. When installing multiple pieces you will want to make sure that both pieces are facing the same direction. When installing a single piece, make sure to have the grain facing you in the direction you will be viewing it most. If you neglect to perform either of these actions, you may notice a visual variation in the material's hue. *Our non-directional turf eliminates color variation by maintaining a consistent color from all angles after installation and brushing. This still does not change the two rules that apply above when initially installing.

CUTTING
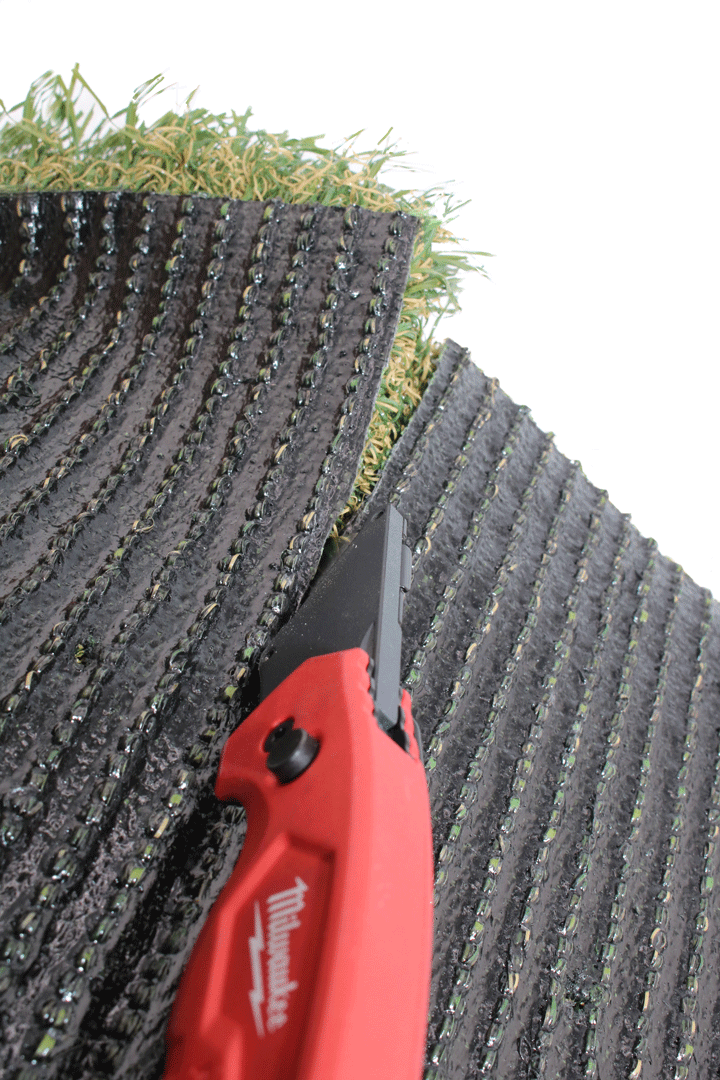
To cut your material for the project, it is advised to use a razor knife with sharp blades. Make sure to cut precisely down the center of the seam rows when joining two pieces together. It is crucial that both pieces are cut in a consistent manner to prevent any gaps that may be larger or smaller than the seam row distance when seamed together. Never cross seam rows with your cut when seaming two pieces together. Be sure to take your time, seams will make or break your project!
*To achieve a clean horizontal cut across the seam rows, we recommended using a Chalk String Line to establish a precise guideline for your knife while making your cut.
NAILING
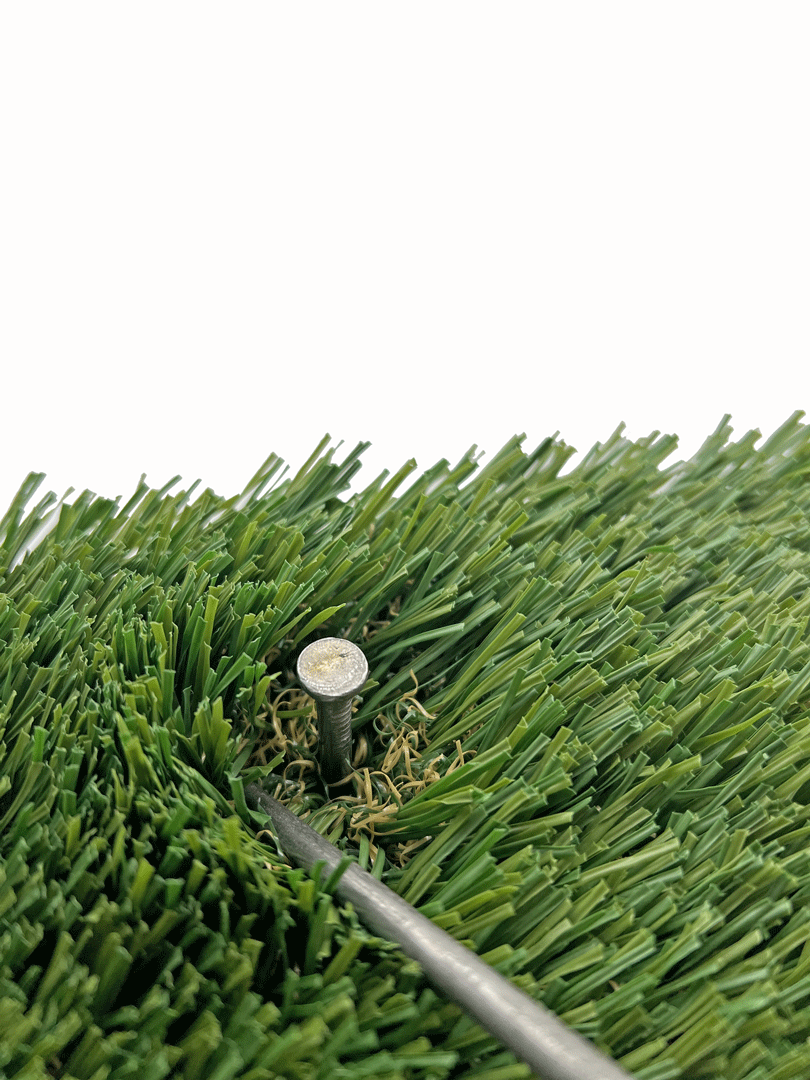
To keep your project in place and prevent any issues with stretching or displacement, it is crucial to properly secure it with nails. When nailing on a seam, be mindful not to go in deeper than two seam rows with your nail. It is important to drive the nails straight into the ground to avoid your material pulling in different directions, which can lead to gaps or overlays. Place nails every 6-8" inches and only use non-galvanized 5-6" inch nails that will rust in the ground, which will lock your turf in place. Lastly, when driving in the last inch of the nail, use another nail to gently spread the turf fibers away from the nail head and carefully tap it in to avoid creating any indentations in the base layer.
SEAMING
Seams will make or break your installation so it is crucial to take your time. When seaming two pieces of material together it is important that your adjacent cuts are clean (read "Tips for Cutting" above). Seams should be nailed evenly on both sides every 6-8". When nailing you want to make sure that the nail is being driven straight into the ground to avoid gaps or overlapping. You do have the option to manipulate the gap or overlap by nailing straight, then pulling the nail slightly in the direction needed as you drive it in. Be sure that the turf fibers out pulled out from underneith the material before nailing it down. After the installation, carefully inspect the seam and remove any displaced fibers. For more information on Seaming techniques check out our blog section.


